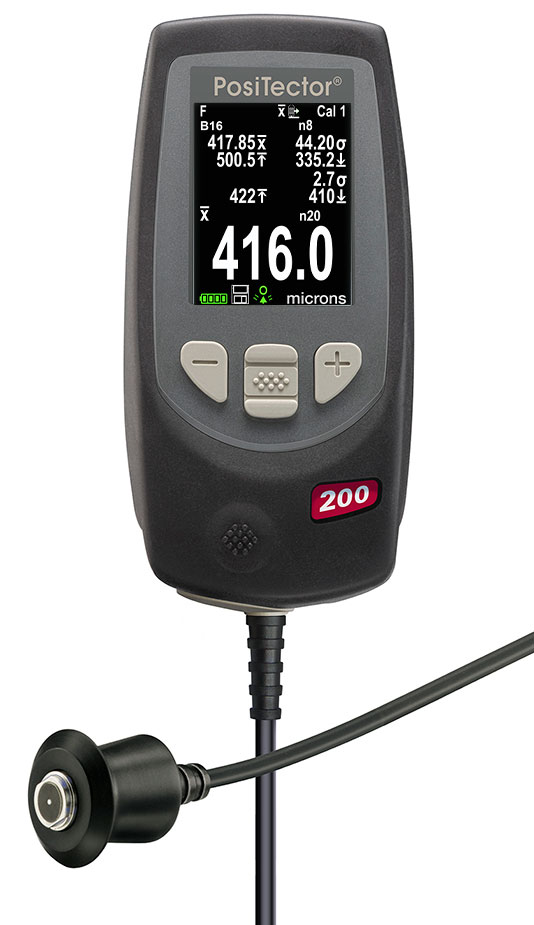
DeFelsko’s PosiTector 200 coating thickness gage is ideal for non-destructively measuring the dry film thickness of coatings on concrete and masonry substrates. This eliminates the need to repair the coating after inspection, saving time for both the inspector and the contractor.

Masonry substrates include stone, brick, tile, cast concrete, pre-cast concrete, concrete block, asbestos-cement board, renderings and plasterboard. Masonry substrates are often porous with varying degrees of surface roughness. While useful in promoting adhesion, such porosity and roughness increases the difficulty in attaining repeatable thickness measurements.
Masonry coatings are used for a multitude of purposes including cosmetic appearance, durability, abrasion resistance, as well as protection from elements such as moisture, salt, chemical and ultra-violet light. Common coatings for concrete include latex paints, acrylics, lacquers, urethanes, epoxies, and polyester resins.
Primer layers are used as adhesion promoters, while overcoat layers serve as protection from surrounding elements. The ability of the PosiTector 200 to discern individual layers of coating is dependent upon the acoustic properties of adjacent layers, individual layer thickness, as well as the coating process itself.
The primary purpose for measuring coating thickness on concrete is to control coating costs while ensuring adequate protective coverage. Commercial contracts often require an independent inspection of the work upon completion.
A non destructive test method eliminates the need to repair the coating after inspection, saving time for both the inspector and the contractor.
Traditionally a destructive test method is used to determine coating thickness on masonry substrates such as concrete. Coatings used on concrete range from hard to soft, smooth to textured, and cover a wide thickness range. The surface of concrete can be quite rough, which can create significant variations in thickness measurements.

The ultrasonic PosiTector 200 C (standard or advanced) gage is ideal for measuring most coating on concrete applications. With a coating thickness measurement range of 50 to 3800 µm (2 to 150 mils), this gage is recommended for customers desiring a single non-destructive measurement solution for most applications. The PosiTector 200 C requires little or no calibration adjustment for most applications. Figure 1 provides a cross-sectional view of a representative 125 to 375 µm (5 to 15 mil) coating on large aggregate concrete that is ideal for the PosiTector 200 C.

The ultrasonic PosiTector 200 B gage is ideal for measuring coating thickness from 13 to 1000 µm (.5 to 40 mils). While not specifically designed for measuring on concrete, after a simple calibration adjustment the 'B' probe may demonstrate improved repeatability when measuring hard, thin coatings over smooth surfaces. Figure 2 represents an application where the PosiTector 200 B may be preferred.

If the concrete surface is smooth but uneven, or rough and porous, one would expect the measurement values to vary accordingly. When examined under magnification, locations where the coating has flowed into pores or crevices may appear as outliers when measurements are taken. For example in Figure 3, the bump in the substrate at "A" results in a significantly different thickness than nearby point "B". It is up to the user to compare results to the specification or expected thickness when analyzing results. Some results may need to be omitted when making calculations.

For an application such as Figure 4, that has both a rough substrate and a rough coating surface, it may be necessary to take several readings within individual small areas, calculate average readings, and then compare these values. These averages can then be compared against the specification. Destructive testing on the sample shown in Figure 4 identified a 1 to 3 mm (40 to 115 mil) variation within a ¼” diameter area.

Ultrasonic testing measurement works by sending an ultrasonic vibration into a coating using a probe (i.e. a transducer) with the assistance of a couplant applied to the surface. A 4 oz bottle of a common water-based glycol gel is included with every instrument. Alternatively, a drop of water can serve as couplant on smooth, horizontal surfaces.

After the drop of couplant has been applied to the surface of the coated part, the probe is placed flat on the surface. Pressing down initiates a measurement (see Fig. 5). Lifting the probe when a double beep is heard holds the last measurement on the LCD. A second reading may be taken at the same spot by continuing to hold the probe down on the surface. When finished, wipe the probe and the surface clean with a tissue or soft cloth.
The right hand side of the PosiTector 200's screen can be used to display a graphical representation of the ultrasonic pulse as it passes through the coating system. This powerful tool enables the user to better understand what the gage "sees" below the surface of the coating.

DeFelsko’s PosiTector 200 coating thickness gage is ideal for coating thickness measurement over a variety of non-metal substrates.
Two models are ideal for masonry coatings:
Each PosiTector 200 comes complete with probe, protective rubber holster with belt clip, couplant, 3 AAA batteries, instructions, nylon carrying case with shoulder strap, Certificate of Calibration traceable to NIST, two (2) year warranty.
Size: 146 x 64 x 31 mm (5.75" x 2.5" x 1.2") Weight: 165 G (5.8 oz.) without batteries
Conforms to ASTM D6132 and ISO 2808
For current pricing or to order these instruments, please visit our Sales page. If you require additional technical information or have questions relating to your particular application, we encourage you to take advantage of our years of experience in recommending the best gage for your needs.